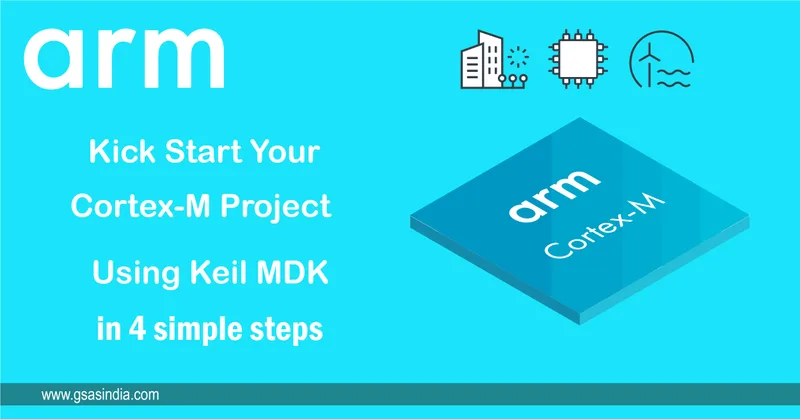
Kick start your Cortex-M project using Keil MDK in 4 simple steps
- Thinking of starting the project based on Cortex-M enabled MCUs.
- **No idea about the Cortex-M architecture and configuration.
** - Intending to complete the project well before the stipulated time.
If you have answered YES for any of the above questions, then please join us for the webinar on 20th August at 2.30 PM to help you get started with Keil MDK tools. The webinar will give you 4 easy and simple steps to kick start your project work.
Keil® MDK is the most comprehensive software development solution for Arm®-based microcontrollers and includes all components that you need to create, build, and debug embedded applications. The tools aid you in developing of the product and getting it to market on time.
Step-by-step: from blank Pack Manager to running “Hello World”
The 4-step framing above is intentionally high-level. Here is what the workflow actually looks like inside Keil MDK today, end-to-end:
- Install Keil MDK. Download the current MDK installer from developer.arm.com/Tools and Software/Keil MDK. MDK ships with the µVision IDE, the Arm Compiler, and the CMSIS framework pre-bundled, there is no separate toolchain to wire up. GSAS supplies the commercial Arm Keil MDK license and node-locked / floating activation in India.
- Open Pack Manager and install your silicon vendor pack. Inside µVision, open Project → Manage → Pack Installer. The Pack Installer pulls Device Family Packs (DFPs) directly from keil.arm.com/packs, for example,
Keil.STM32F4xx_DFPfor ST Microelectronics,NXP.LPC1700_DFPfor NXP,NordicSemiconductor.nRF_DeviceFamilyPackfor Nordic, orARM.CMSISfor the core CMSIS pack itself. Each DFP includes the device header files, startup files, flash algorithms, and SVD register definitions for the part. - Create a new project and select your target. Project → New µVision Project → pick the exact MCU part number from the device tree the Pack just installed. µVision generates the linker scatter file and memory map from the Pack metadata.
- Add CMSIS-Core and Device::Startup components. Open Manage Run-Time Environment. Tick
CMSIS::COREandDevice::Startup, Pack Manager auto-resolves dependencies and dropsstartup_<device>.sandsystem_<device>.cinto the project. The CMSIS framework is documented at developer.arm.com/documentation/cmsis. - Add
main.cwith a SysTick blinky. A 10-lineSysTick_Config(SystemCoreClock / 1000)plus a GPIO toggle inSysTick_Handler()is enough to prove the toolchain end-to-end. - Configure the debugger. Options for Target → Debug, pick ULINKplus, ULINKpro, or SEGGER J-Link Base. Set SWD as the wire protocol (faster and lower pin-count than JTAG on Cortex-M).
- Build, flash, run. F7 builds, F8 flashes, Ctrl+F5 starts a debug session.
Common gotchas for first-time Cortex-M developers
- Wrong clock source at startup.
SystemCoreClockdefaults to the internal HSI oscillator on most ST parts. If your board uses an external HSE crystal, you must editsystem_<device>.c(or call the vendor HALSystemClock_Config()) before any peripheral runs at the expected baud rate. - Vendor HAL/library license. The CMSIS device pack is unrestricted, but vendor middleware (ST’s USB stack, NXP’s MCUXpresso SDK components packaged as DFPs) may carry separate license terms, confirm before shipping.
- JTAG vs SWD wiring. Most modern Cortex-M boards expose only the 4-pin SWD header. Selecting JTAG in Options for Target on an SWD-only board returns “No target connected”, switch to SWD and the device appears immediately.
- Flash read-out protection. ST RDP Level 1, NXP CRP, and Nordic APPROTECT will silently block a fresh flash write on a previously locked part. Issue a full chip erase from µVision (Flash → Erase) before the first download on a recycled board.
LEARN MORE ABOUT Arm Tools | Talk to GSAS about Keil MDK licensing in India
Also appears in:
Interested in Arm tools?
Talk to our application engineers for personalized tool recommendations.
More from Arm
View all →
Meet the GSAS Team at electronica India 2026, Stall H3.I45
15 Sept · 3 min
Arm's Agentic AI Push: What Indian Embedded Teams Can Actually Use Today
13 Sept · 7 min
Arm User-Based Licensing in CI/CD: armlm, Proxy Activation and What Breaks
28 Jul · 11 min

Two Arm Keil MDK Webinars This Summer: DevOps and Edge AI for Indian Cortex-M Teams
17 Jun · 4 min

Emulating Processor Power for Thermal Testing: Why Constant Power
7 Oct · 7 min

CRPS and Rack Power Supply Testing: The Six Tests That Matter
7 Oct · 7 min