Beyond Power-Off Testing
VI curve tracing in its standard form is a power-off technique. You apply a controlled AC stimulus to an unpowered component, measure the resulting voltage-current relationship, and compare it against a known-good reference. This works exceptionally well for identifying shorts, opens, and degraded passive components. But certain fault classes, intermittent failures, thermal drift, and voltage-dependent semiconductor breakdowns, only manifest when the board is powered and operating under load.
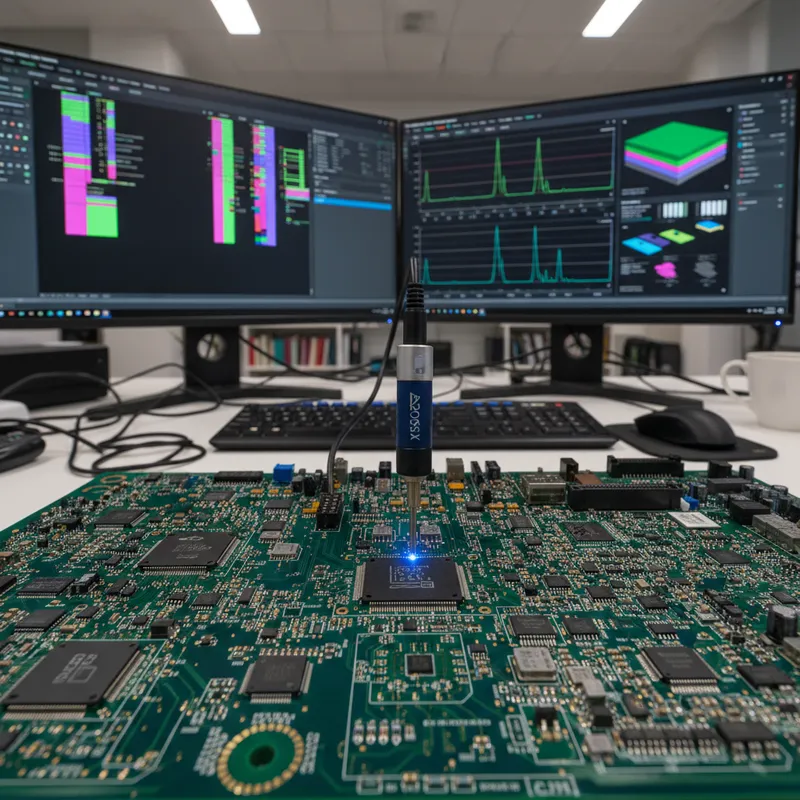
The FADOS 9F1 addresses this gap with two capabilities beyond power-off signature analysis: a built-in programmable DC power supply and a non-contact infrared temperature sensor.
The Built-In Programmable Power Supply
The 9F1 integrates a programmable DC power supply with the following specifications:
- Output range: 100 mV to 16 V DC
- Current limit: 10 mA to 1500 mA
- Voltage/current monitoring: Real-time readout within the FADOS software
How Powered Testing Works
The diagnostic workflow begins with conventional power-off VI curve scanning. Once the technician has identified suspicious areas, or confirmed that power-off testing alone cannot isolate the fault, they switch to powered mode.
Step 1: Set a current limit. Before applying voltage, the technician sets a conservative current limit (typically 100–200 mA for initial investigation). This protects both the board under test and the FADOS unit.
Step 2: Ramp voltage slowly. Starting from 0 V, the technician increases voltage in incremental steps while monitoring current draw. A healthy board follows a predictable current profile as each voltage rail activates its associated circuitry.
Step 3: Watch for current anomalies. A sudden current spike at a specific voltage indicates a fault on the power rail that activates at that voltage. The FADOS software logs the exact voltage and current at which the anomaly occurs, giving the technician a precise starting point for localized probing.
Step 4: Isolate the fault. With the board still powered at just below the fault threshold, the technician uses the VI probe to test individual components in the suspect area, comparing powered signatures against the reference database.
Practical Applications
This technique is particularly effective for:
- Shorted decoupling capacitors that only draw excessive current when their associated rail is active
- Partially failed voltage regulators that pass power-off testing but cannot maintain regulation under load
- Semiconductor junction degradation where the device conducts normally at low voltage but breaks down at operating voltage
- Solder joint failures that only manifest under thermal expansion from powered operation
Non-Contact IR Thermal Scanning
The 9F1’s second advanced feature is a non-contact infrared temperature sensor integrated into the diagnostic workflow.
The Thermal Fault Localization Method
When a board has a short circuit or excessive current draw, the faulty component dissipates more power than its neighbours. Even a brief powered period, 5 to 15 seconds, is enough for a shorted component to heat measurably above ambient temperature.
The workflow is straightforward:
- Power the board briefly using the built-in supply (with current limiting)
- Remove power
- Immediately scan the board with the IR sensor
- The FADOS software highlights temperature differentials, flagging components that are anomalously warm
This technique is non-destructive. The brief powered period with current limiting prevents catastrophic failure, and the IR sensor never contacts the board surface.
Where Thermal Scanning Excels
- BGA and QFN packages where solder joints are hidden beneath the component, you cannot visually inspect them, but a thermally stressed joint creates a detectable hot spot
- Multi-layer boards where inner-layer shorts are invisible from the surface but generate localized heating
- Dense SMT assemblies where hundreds of 0201 or 0402 passives make visual inspection impractical
Combined Workflow: Power-Off, Power-On, Thermal
The most effective 9F1 diagnostic sequence combines all three approaches:
- Power-off VI scan: Catch the obvious faults, shorts, opens, missing components
- Powered ramp test: Identify voltage-dependent faults and current anomalies
- Thermal scan: Localize the exact component responsible for any excess current draw
For workshops in Bengaluru, Hyderabad, Chennai, and Pune that handle complex multi-layer boards, automotive ECUs, industrial controllers, medical devices, this three-phase workflow converts what might be hours of oscilloscope probing into a structured 15–30 minute diagnostic sequence.
Why Buy FADOS 9F1 from GSAS
GSAS Micro Systems is an authorized ProT Ar-Ge partner and ODM assembler for the FADOS product line. Every FADOS 9F1 shipped in India is assembled and tested at our Bengaluru facility. We provide:
- On-site demonstrations at our offices in Bengaluru, Hyderabad, Chennai, Pune, Mumbai, and Delhi NCR
- Operator training covering power-off VI testing, powered diagnostics, and IR thermal scanning
- INR invoicing with GST-compliant documentation
- Local calibration and service: no international shipping for repairs
Also appears in:
Interested in ProT Ar-Ge tools?
Talk to our application engineers for personalized tool recommendations.
More from ProT Ar-Ge
View all →
FADOS Test Reports and GSAS Agent: Turning Board Test Results into an Auditable Record
4 Aug · 8 min

FADOS Circuit Board Tester: Complete Guide for Indian Repair Teams
16 Apr · 13 min
FADOS XI Frequency Scanning and VI Curve Tracing for PCB Diagnostics
16 Apr · 11 min
FADOS XI Non-Contact Short Circuit Detection: Find PCB Shorts in Seconds
16 Apr · 9 min

Emulating Processor Power for Thermal Testing: Why Constant Power
7 Oct · 7 min

CRPS and Rack Power Supply Testing: The Six Tests That Matter
7 Oct · 7 min